How To Change A Car Battery
How To Change A Car Battery. Changing a car battery is a practical skill that can save you time, inconvenience, and money. Although it might seem intimidating at first, the process is relatively straightforward if you follow the correct steps. This detailed guide will provide you with all the information you need to replace a car battery safely and efficiently.
Tools and Materials Needed
- New Battery. It’s crucial to purchase a battery that fits your car’s specifications. Your vehicle’s manual will list the battery size, type, and other specifications. Alternatively, most auto parts stores can provide this information based on your car’s make, model, and year.
- Wrenches and Sockets. Most car batteries are held in place with bolts and nuts that can typically be removed with either a 10mm or 13mm wrench or socket. However, always check the size before beginning as some cars may use different sizes.
- Wire Brush. This tool is used to clean corrosion and residue from the battery terminals and cable connectors, ensuring a clean contact surface for the new battery.
- Battery Terminal Protector Spray. This spray helps to protect and seal the battery terminals from corrosion and buildup, which can extend the life of your battery.
- Rubber Gloves. Battery acid is corrosive, and it’s important to protect your skin when changing a battery.
- Safety Glasses. Batteries can produce explosive gases; safety glasses protect your eyes from sparks or acid.
- Corrosion-Prevention Grease. This grease is applied to the terminals after the installation of the new battery to help prevent corrosion.
Step 1: Safety First
Before starting any maintenance or repair work, it’s crucial to ensure that your vehicle is safely situated. Park it on a stable, level surface to prevent any unexpected movement. It’s best to choose a well-ventilated area to work in, especially if you’ll be running the engine. Turn off the engine and make sure the ignition is completely off to avoid any accidental starts. For added safety, engage the parking brake firmly before proceeding with any tasks. Taking these precautions will help create a safer working environment and minimize the risk of accidents.
Step 2: Access the Battery
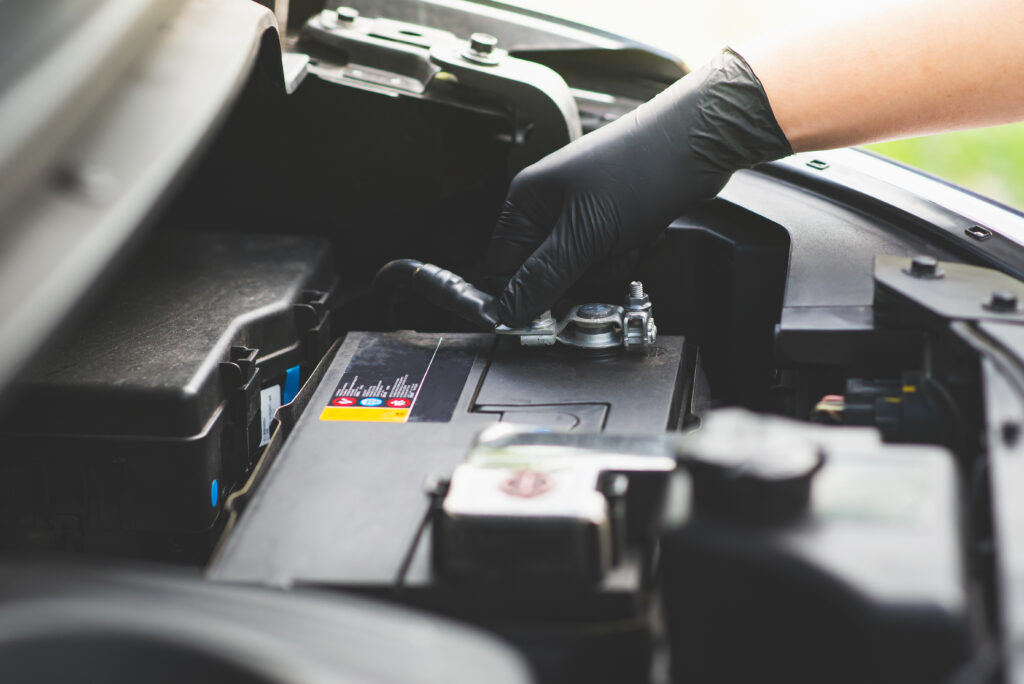
To begin, pop open the hood of your vehicle and ensure it stays in place securely by utilizing either the Hood Prop or support strut provided. Next, locate the battery within the engine compartment. Typically, you’ll find it situated towards the front of the engine bay, easily accessible upon opening the hood. However, depending on the specific make and model of your vehicle, the battery’s placement may vary. It could potentially be positioned under a seat or even in the trunk. Taking note of this variation is crucial for effective maintenance and troubleshooting.
Step 3: Remove the Old Battery
Step 4: Clean and Prepare the Battery Tray
Before installing the new battery, it’s essential to inspect the battery tray and surrounding area for any indications of damage or excessive corrosion. Utilize a wire brush to thoroughly clean the tray and the cable connectors, removing any corrosion or debris. In cases where corrosion is severe, applying a battery cleaning solution can help dissolve the buildup effectively. However, it’s crucial to ensure that the area is completely dry before proceeding with the installation of the new battery. This meticulous preparation ensures optimal conditions for the new battery’s installation and longevity.
Step 5: Install the New Battery
When installing the new battery, begin by placing it in the battery tray, ensuring it sits securely and is oriented correctly. The positive and negative terminals should align with their respective positions according to how the cables will connect. Once positioned correctly, reattach any clamps or brackets to secure the battery in place. It’s crucial to ensure these clamps or brackets are tightened sufficiently to hold the battery firmly in place but be cautious not to over-tighten them as this could potentially damage the battery.
Step 6: Connect the Battery Cables
When connecting a car battery, it’s crucial to follow a specific order to minimize the risk of sparking. Begin by attaching the positive terminal first. Slide the cable over the terminal and securely tighten the clamp. Following this, connect the negative terminal. This sequence helps prevent sparks. Once both terminals are connected, ensure they are tight and secure to maintain proper electrical contact. Additionally, it’s beneficial to apply a thin layer of corrosion-prevention grease to both terminals, prolonging the battery’s lifespan and ensuring reliable performance.
Step 7: Final Checks
Once everything is connected and in place, including the memory saver device if it was used, it’s important to remove the memory saver. After ensuring all connections are secure, close the hood tightly. Then, start the vehicle and carefully inspect all electronic systems and settings to verify that everything is functioning as expected. This final step ensures that the vehicle’s electrical components are operating smoothly and that any potential issues are promptly addressed.
Step 8: Dispose of the Old Battery Responsibly
When disposing of an old car battery, it’s essential to handle it responsibly to minimize environmental impact. Take the old battery to an auto parts store, mechanic’s shop, or a designated recycling facility that accepts car batteries. These establishments are equipped to handle the proper disposal and recycling of such items, ensuring they are handled safely and in accordance with environmental regulations.
Car batteries contain harmful chemicals and materials, such as lead and sulfuric acid, which can pose serious environmental and health risks if not disposed of correctly. By bringing your old battery to a certified recycling facility, you help prevent these hazardous substances from leaching into the soil and water, and you contribute to the conservation of valuable resources through the recycling process.
When Should You Change Your Car Battery
By being aware of the signs indicating a failing battery and following proper maintenance practices, you can extend the life of your battery and enjoy reliable performance on the road.
- Diminished Cranking Power. If you notice that your engine is slow to start or struggles to turn over, it could be a sign of a weak battery. As batteries age, their ability to hold a charge diminishes, resulting in difficulty starting the engine, especially in cold weather.
- Frequent Jump Starts. If you find yourself needing to jump-start your car frequently, it’s a clear indication that your battery is struggling to hold a charge. While jump-starting or Charging Your Battery can get you going temporarily, it’s not a long-term solution, and you should have your battery tested and replaced if necessary.
- Warning Lights. Modern vehicles are equipped with onboard diagnostics systems that monitor various components, including the battery. If your car’s battery warning light illuminates on the dashboard, it’s a signal that the battery voltage is low or that there’s a charging system issue. Ignoring this warning could lead to a stranded vehicle.
- Age of the Battery. Most car batteries have a lifespan of around 3 to 5 years, depending on factors such as climate, driving habits, and maintenance. If your battery is approaching this age range, it’s a good idea to have it inspected and replaced, if necessary, even if it’s still functioning normally.
- Corrosion and Physical Damage. Inspect your battery regularly for signs of corrosion on the terminals or any physical damage such as cracks or leaks. Corrosion can hinder the battery’s ability to conduct electricity, while damage can lead to acid leaks and short circuits.


